Good Technique
There are many books, websites and magazines written by experts better equipped than I am to provide valuable guides to the technical side of photography. Nor do I aim to extol the virtures of elaborate equipment and patient hours spent in a bird hide although these can achieve excellent results. My goal is to explain the way I pursue my interest, the basic camera and lens I use and the processing that leads to the final product. If you would like to listen to a professional photographer with a gift for oral presentation explaining how to produce the perfect, sharp, bird photograph, in an excellent youtube video, I have provided a link at the end of this section.
Camera Woes
I suppose I am an opportunist. I take my camera and telephoto lens everywhere when I am away from the city and often when I am not. It can be incredibly inconvenient. I am frequently combining bird photography with another activity. If I am trekking up a steep mountain camera and lens can be very cumbersome and heavy. If I am in a canoe, I am constantly fearful for the safety of my equipment. And if I am in a country like South Africa, I try to conceal my camera and lens in a rucksack for security reasons. Sometimes I carry my equipment all day and never take a single wild life picture. Is it worth it? Yes it is because every now and then it pays off.

Little Cormorant and Asian Openbill
This photograph of a little cormorant and an Asian Openbill on top of a lamp post apparently engaged in an interspecies chat was taken from a small moving boat on a canal in Bangkok. A good example of urban wildlife photography.
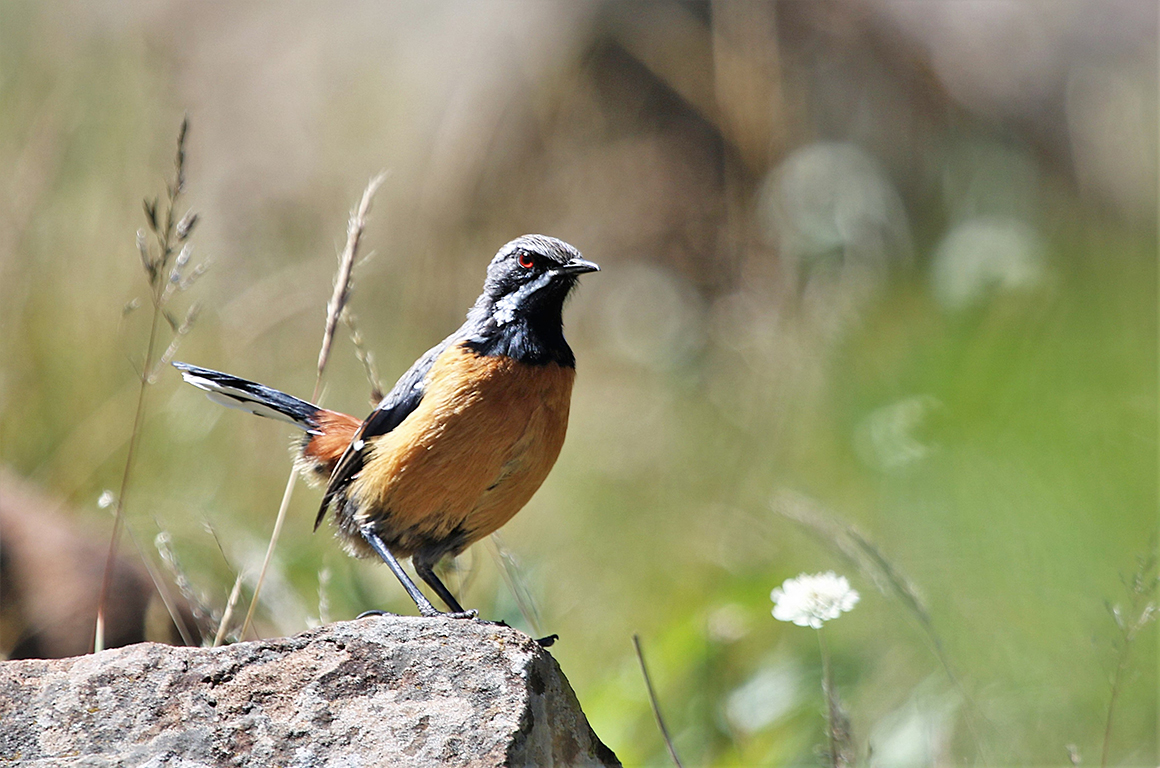
Drakensberg Rock Jumper or Orange Breasted Rock Jumper
The photograph of the near threatened Drakensberg rock jumper was taken in the first 30 minutes of a 6 hour, 3000 metre high hike that included the notorious Northern Drakensberg Amphitheatre chain ladders. After that one successful shot, I saw very little apart from a few rock climbing baboons and hauled my heavy equipment up and down the mountain for no apparent reason. But I do have a permanent record of my sighting of the orange-breasted rockjumper.

Pond Heron
This shot of a pond heron was taken while walking in a park in Bangkok. I was fortunate to be in the right place at the right time but it was not by chance that I had the right equipment. Unfortunately, all that expended energy was for nothing - the heron emerged with a leaf not a fish!
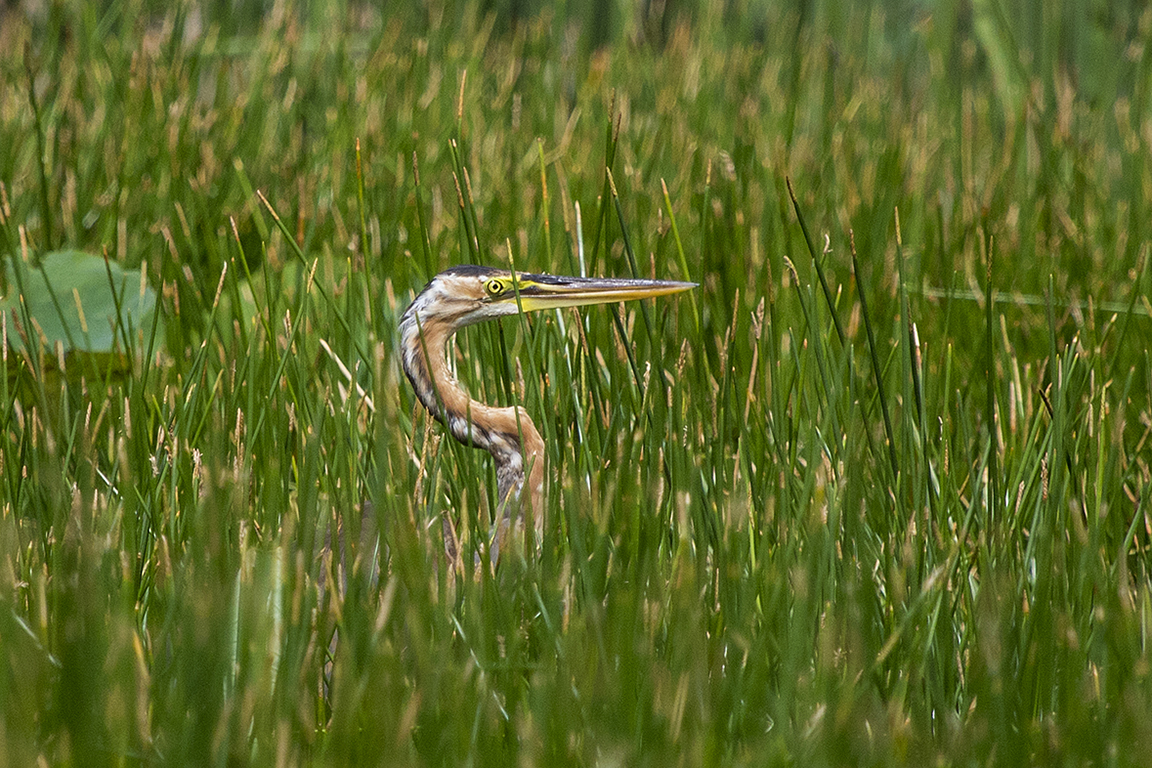
Purple Heron
I was standing precariously in a moving narrow longtail tourist boat to shouts of "sit down, you'll capsize us!" when I took this picture of a purple heron in Khao Roi Sam Rot National Park, Thailand.
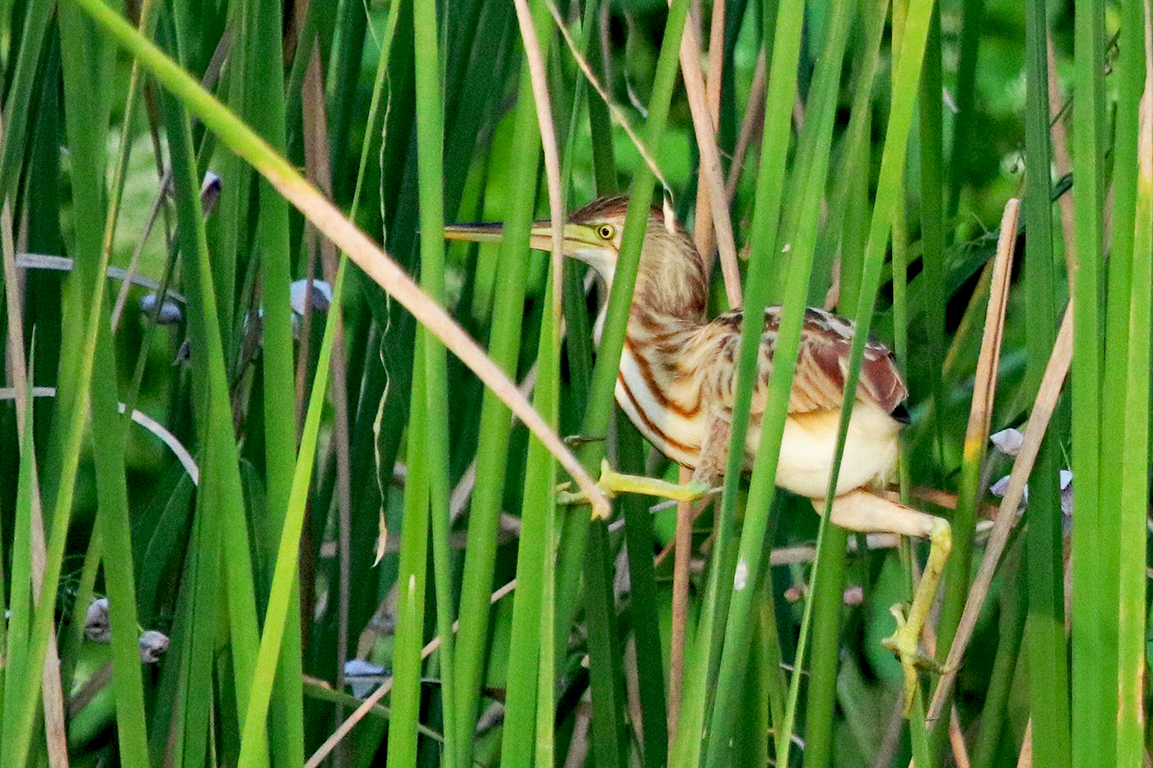
Yellow Bittern
And I was in a canoe when I surprised this yellow bittern amongst the reeds of a lake near Kaeng Krachan National Park, Thailand. Focus on the eye for the best bird photographs.
My Camera
My equipment needs to be as light as possible or at least, not as heavy as it could be. I use a light DSLR (digital single-lens reflex camera) with a cropped sensor (look it up!). It focuses on a smaller area of the subject than a full size sensor and appears to increase magnification. As a result, it requires less cropping during processing, a factor particularly important when photographing smaller birds. It has automatic focus and can take multiple shots of a moving subject. A cropped sensor camera is also lighter. The disadvantage is that the quality of the image is not as good as one taken with a camera with a full size sensor.
My Lens
I try not to compromise on lens quality. I use a 100-400 mm zoom telephoto lens which means I have the flexibility to make my subject look closer or further away and I can make decisions about what I wish to include in the composition and framing of the shot. For instance, do I want to fill the frame with the bird or do I want to include a piece of its habitat a well? Unfortunately, I am often compelled to take the shot at maximum magnification in order to have a reasonable image of the subject which would otherwise look too small. Sometimes it a compromise between too small an image or too much "noise" (see further down the page).
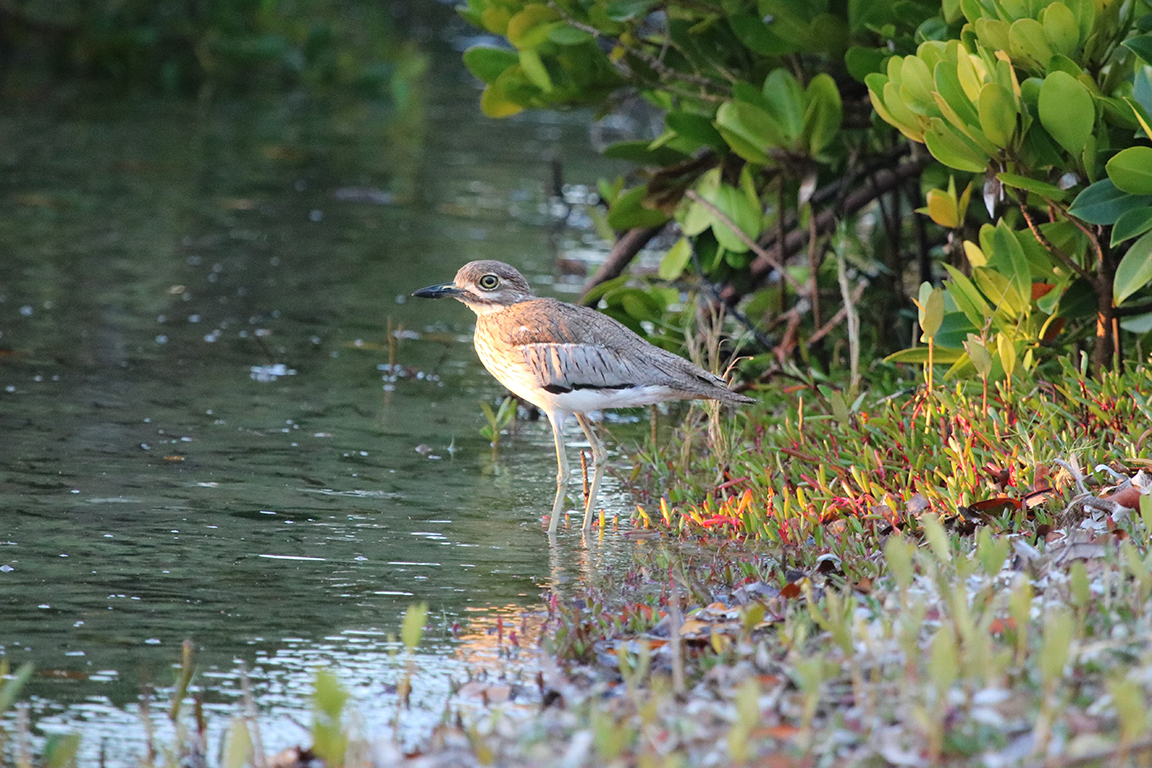
Water Dikkop
This water dikkoop photographed on the banks of the Goukamma River, Western Cape, South Africa is set in the context of an attractive habitat which is fortunate as it was taken from quite a distance and enlarging the bird further would result in a poor quality image.
Other Essentials
I always carry at least two batteries and a spare memory card. I had a very bad experience in primary forest in Peru when my battery ran out with no means of recharging it and I missed some great photographic opportunites Memory cards should be at least 64 GB particularly if like me you shoot with RAW files. They carry a lot more data and you get a better result after editing but it does take up space on your memory card. The alternative is probably jpeg files which is what most people use. Your camera should offer either option but the default is jpeg and if you want to change you'll have to make an adjustment. Your instruction booklet will tell you how if you wish to go down that route.
Camera Settings (check out the technical terms online)
I do not carry the extra bulk and weight of a tripod. I can get away with not having this once essential piece of equipment because of an image stabiliser function on my lens which counters any shake or movement when taking a shot. I also use a fast speed where possible that reduces the impact of camera shake. I set camera speed for each shot and have aperture and ISO on automatic. I watch ISO closely in low light conditions and slow shutter speed as needed. Birds are fast and unpredictable. If you have a consumer level camera, it will probably have a sports setting which automatically adjusts shutter speed and "aperture" ( adjustable hole behind the lens) size for a fast moving object. Note that the very best professional images are often achieved with the use of a tripod.
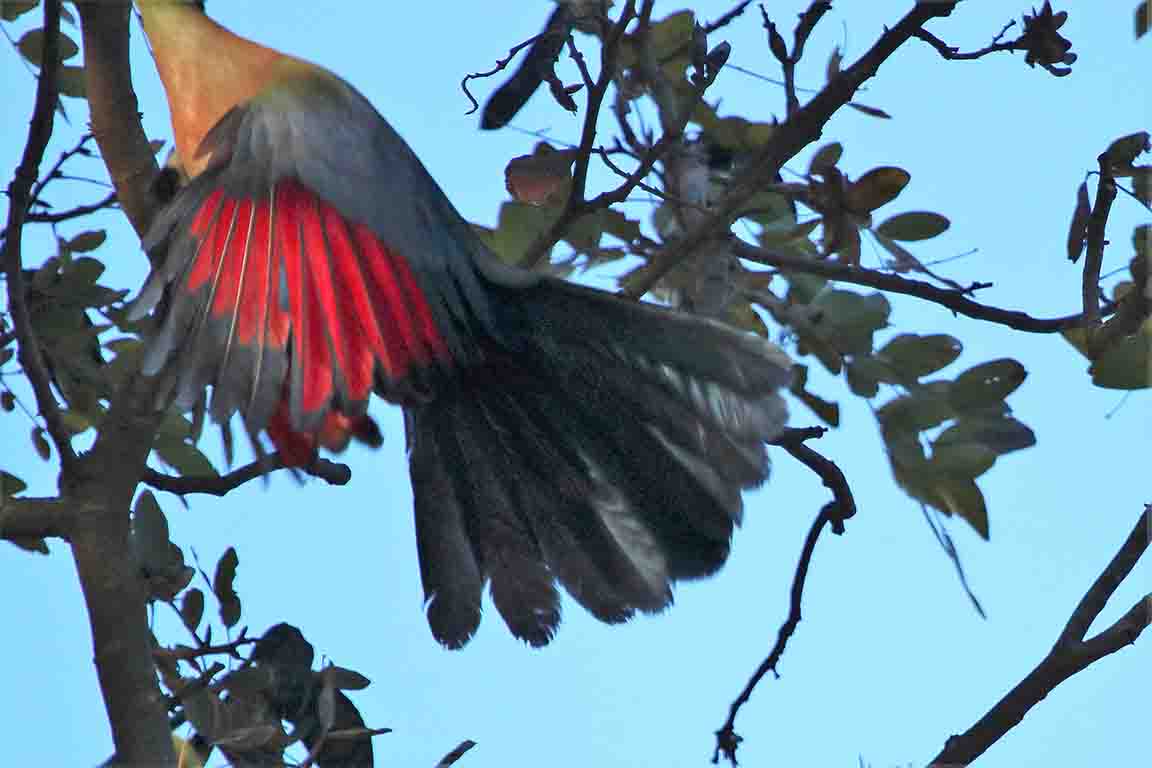
Purple-crested Lourie
The one that got away. Unfortunately, this kind of result is all too common. But then if it was too easy, where's the challenge? This purple-crested lourie was nearly photographed in a garden in Harare, Zimbabwe.
Challenges
This camera/lens combination I use works reasonably well particularly in bright light. Results are less impressive in dull light particularly at dusk and dawn. There is better equipment available but it is heavier, bulkier and expensive. However, I can improve the appearance of a photograph with post production editing. First of all I transfer my memory card to my laptop. I need to delete probablly 90% of the photographs I have taken straight away. I often take multiple shots of a bird if I have the chance and most may well be below standard. Sometimes it can be difficult to focus because of obstacles such as branches and leaves. Sometimes the bird is moving too rapidly. Sometimes you can see a shot that is superior to others of the same subject.
Post Production
I then move more promising photographs to a file on my hard disc and use photo processing apps to crop, adjust light, colour, clarity, sharpness before converting to jpeg. You can usually use the shadow control to lighten dark areas and the highlight tool to reduce the areas that are too bright. I'll often reduce shadow and highlight while increasing exposure to reduce dark areas in the picture while ensuring light areas are not over exposed as a result.
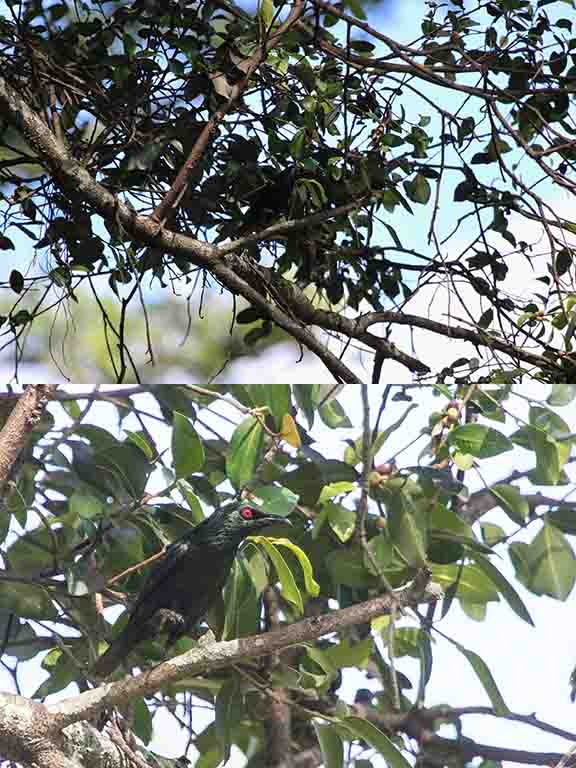
Asian Glossy Starling
I used these two pictures in the section on camouflage. They illustrate what can be done when you play with exposure, brightness and shadow. The downside is the bleached sky in the second picture. Also involved was a major crop(see below).
Often the objecive is to turn a cloudy day into a sunny day with brighter, richer colour.
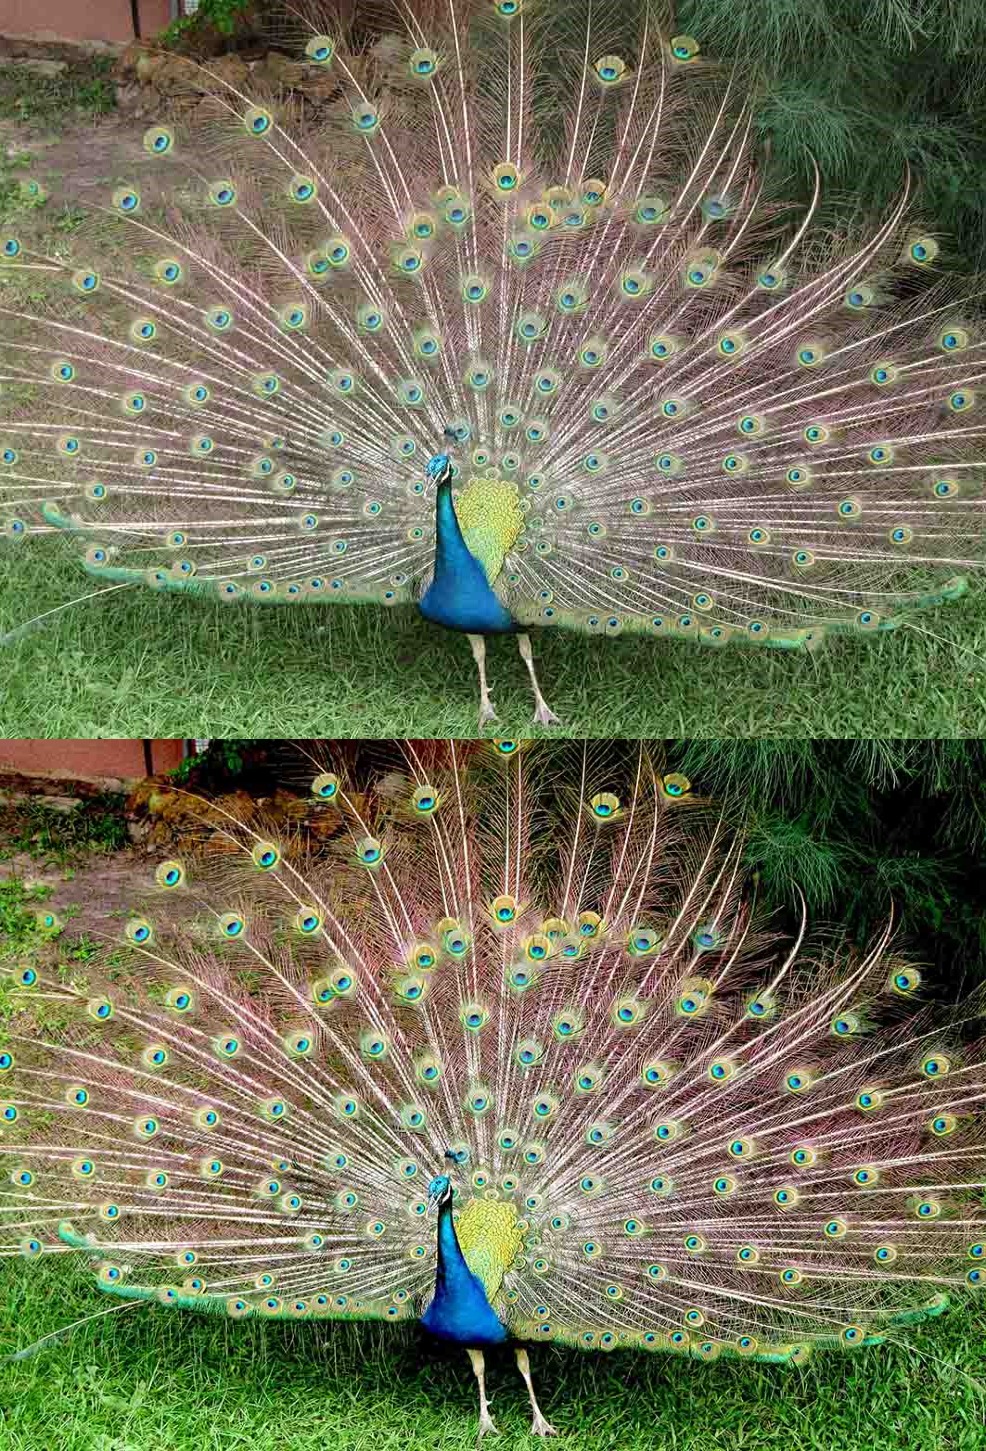
Peacock
I photographed the peacock in the first pictue on a cloudy day and adjusted sharpness, brightness and vibrance to turn the day sunny and make the colours more vivid without overdoing it.
Post Production Challenges
Too much tweeking, and you finish up with a gaudy, unrealistic image like many of the panoramic views you see in online photographs or in advertisements. The risk of excess also applies to the sharpening tool which turns a blurred or poorly focused image into, well, a sharp one. A great bonus for a bird photographer but one that must be used with discretion as oversharpening is obvious from the over defined bird with a thin halo around it. All these adjustments can take their toll on quality, with an increase in graininess, also called "noise" and means your pixels are showing and your picture loses "resolution". Refer to your photographic reference book for an explanation of pixels and resolution.
Cropping
Before I adjust the content of my pictures, I often have to reframe them - decide if they need cropping. Most photo processing tools have a cropping tool. Basically, it allows you adjust the frame and therefore the content of your pictures and for the bird photographer that means enlarging the bird at the expense of the surroundings or context. Again watch out for noise which increases the more you crop. Some professionals will tell you not to crop at all but they my not be bird photographers who need the extra magnification.and it may not matter unless you want to make a really big print. Incidentally, the photographs on this site are all relatively poor quality for printing as I have reduced the pixels to save memory and keep a fast website. Contact me if you want a good quality image from the website.
Sharp Bird Pictures
Now for the link I promised you at the beginning of this section. Will Goodlet is based in South Africa and specialises in, amongst other areas, photographing birds in flight. He makes accessible to the amateur the technical side of taking sharp bird photographs but also explains why sharpness isn't always the ultimate goal of the wildlife photographer. The link will also give you access to a Will's other youtube presentations for photographers.
https://www.youtube.com/watch?v=exk-9pbj2Rk